Hashnode Auto-Backup Posts on Github
How to set up your Hashnode blog to automatically backup to your Github Account

I create tech content primarily on YouTube. I write about web development, design and tooling from a solopreneur's perspective. My wife and I are raising four kids, and I enjoy running ultras in my free time.
0. Hashnode Docs
@Hashnode is awesome! Here is the official documentation for auto-backups. But, I was so excited when I saw this feature, I wanted to highlight it myself as well. There are a couple small items that have been updated since the support article was published too. Info below in #2 👇
I realized that auto-backup to GitHub was a thing while reading a comparison of Hashnode and Dev.to. They're both wonderful platforms, and the linked comparison was from Hashnode, so it's bent toward itself.
1. New Repository
Create a new repository over on GitHub.
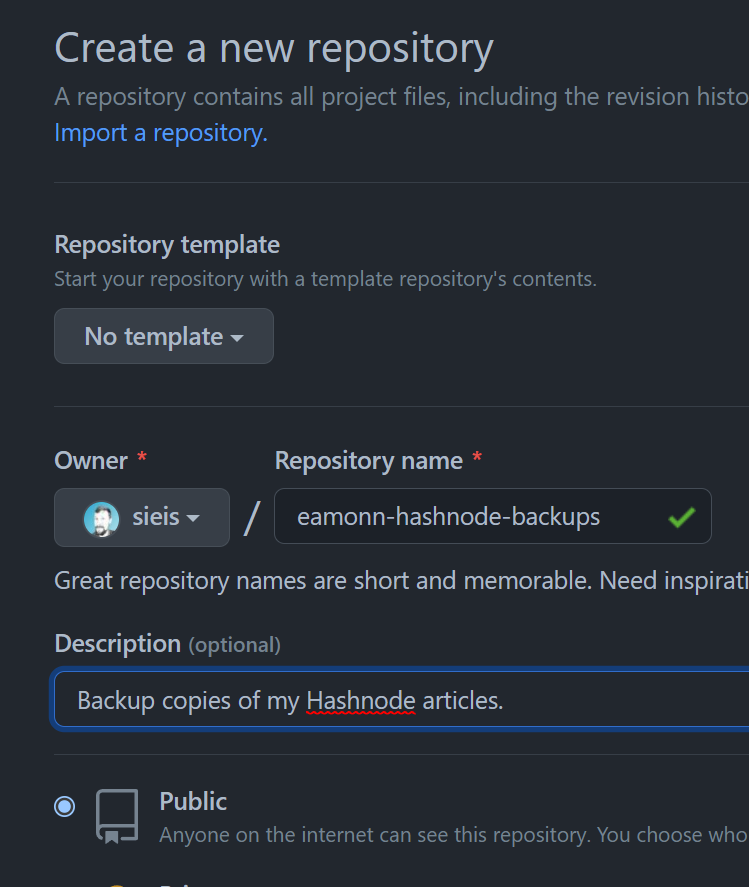
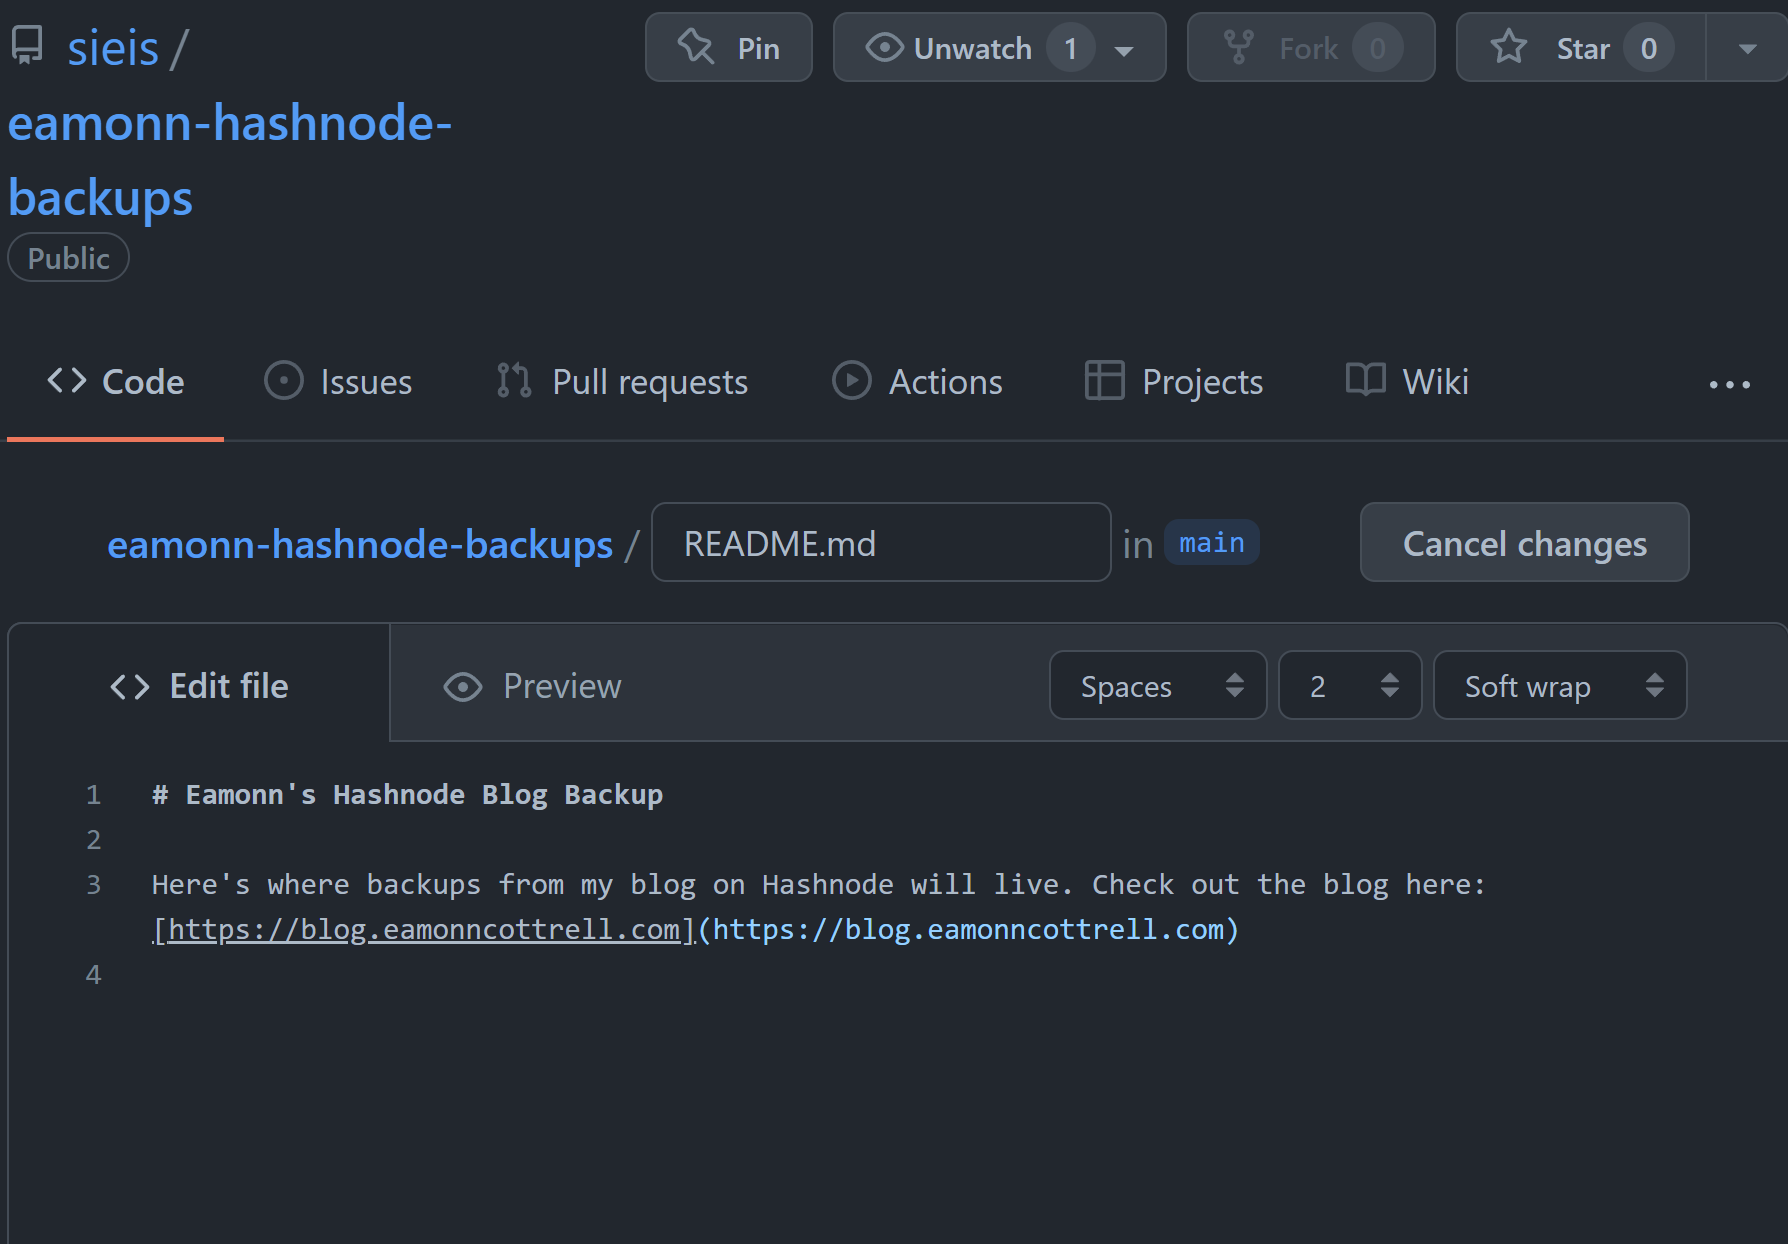
Throw down a quick README.md for good taste. Because you're awesome. And you want a link to your live site for the 1 person per year that will find you through GitHub.
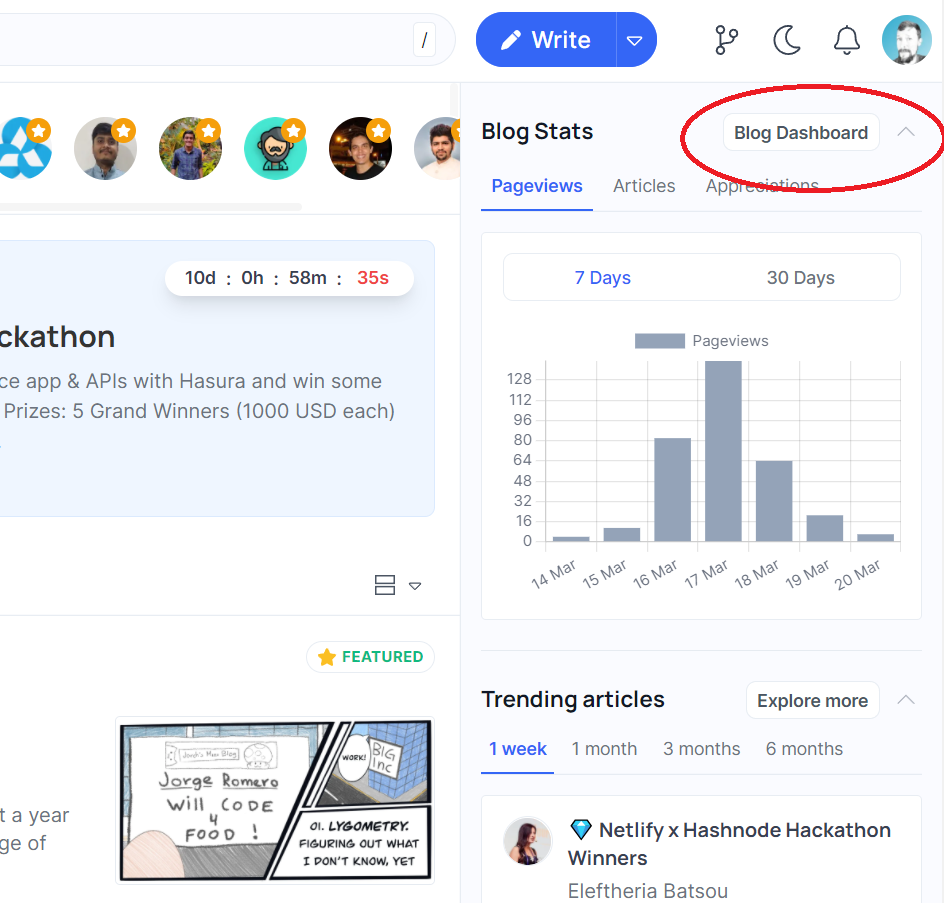
2. Go to Your Blog Dashboard.
There's a button straight to your dashboard under your profile pic. You can also click your profile pic for a dropdown menu. (The support docs are not yet update to reflect this, and I may contribute this fix unless you beat me to it!)
3. Select Backup Option from Sidebar
This pops up a window with some of your last operations, and in my case a lovely FAILED message across from each one.😅 Don't worry, that's normal...next you need to actually install the Hashnode GitHub App so it can not fail.
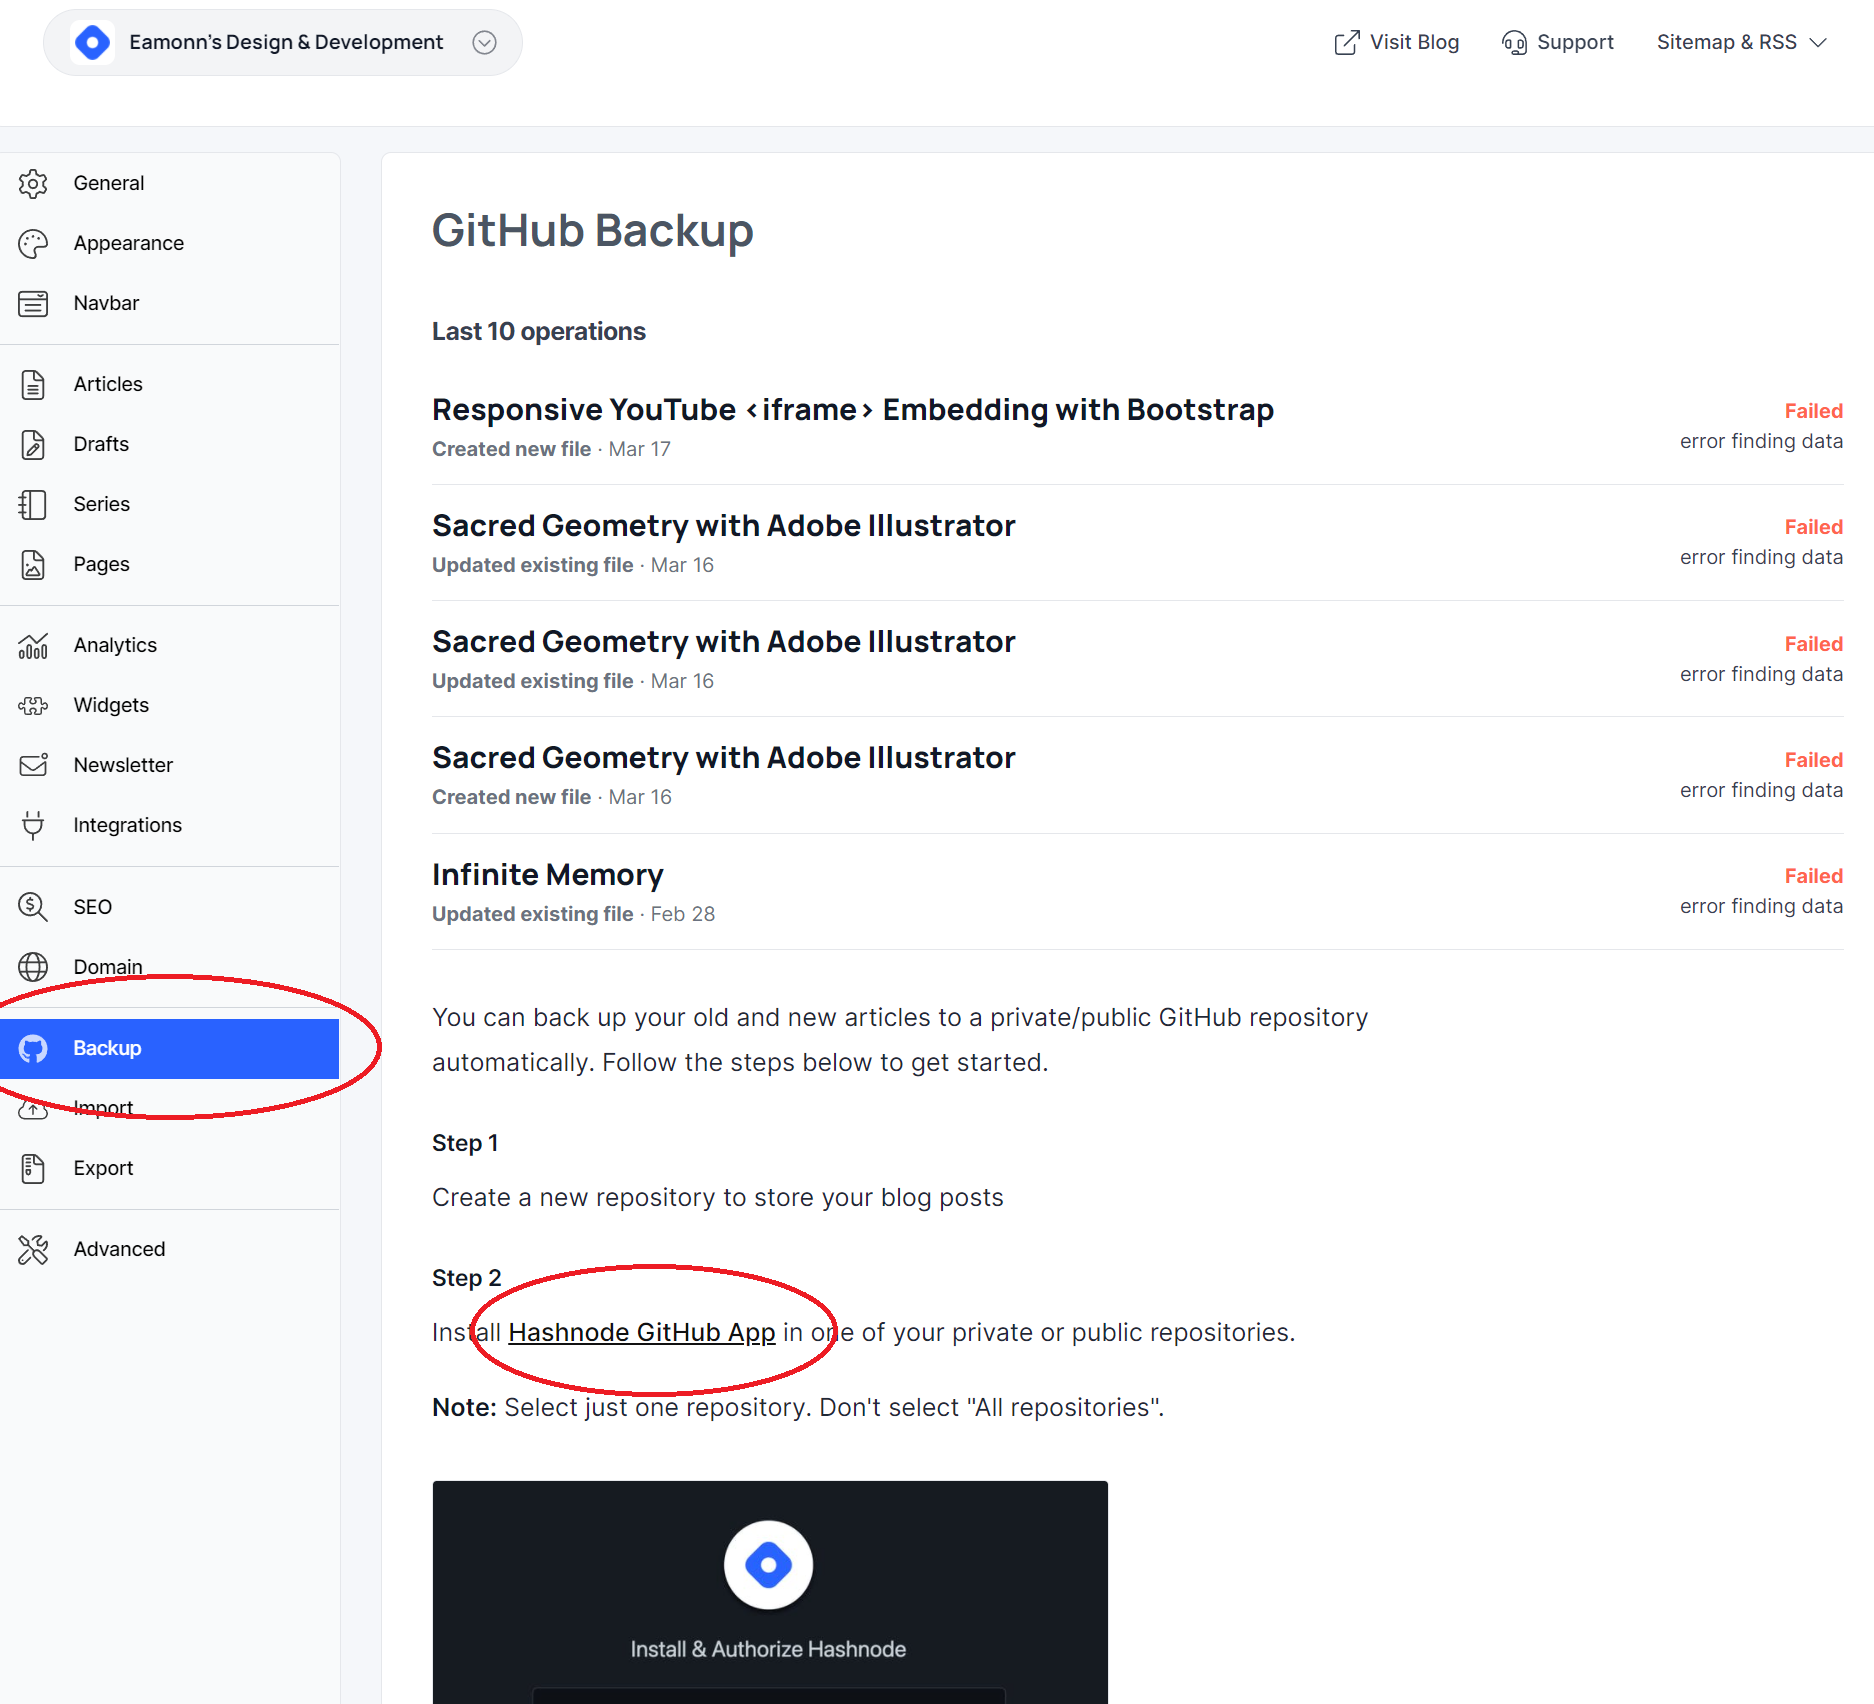
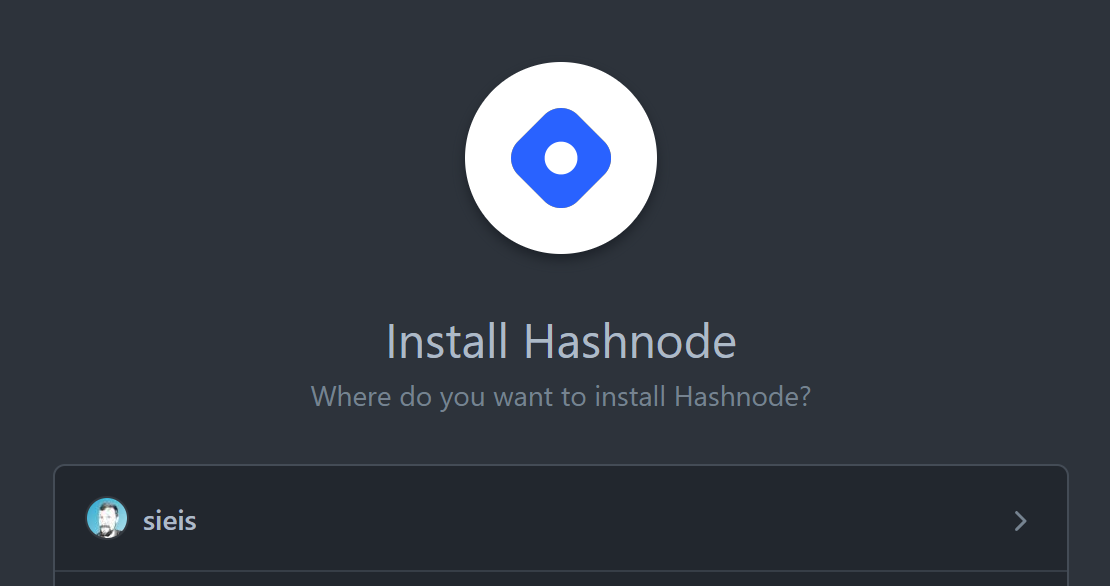
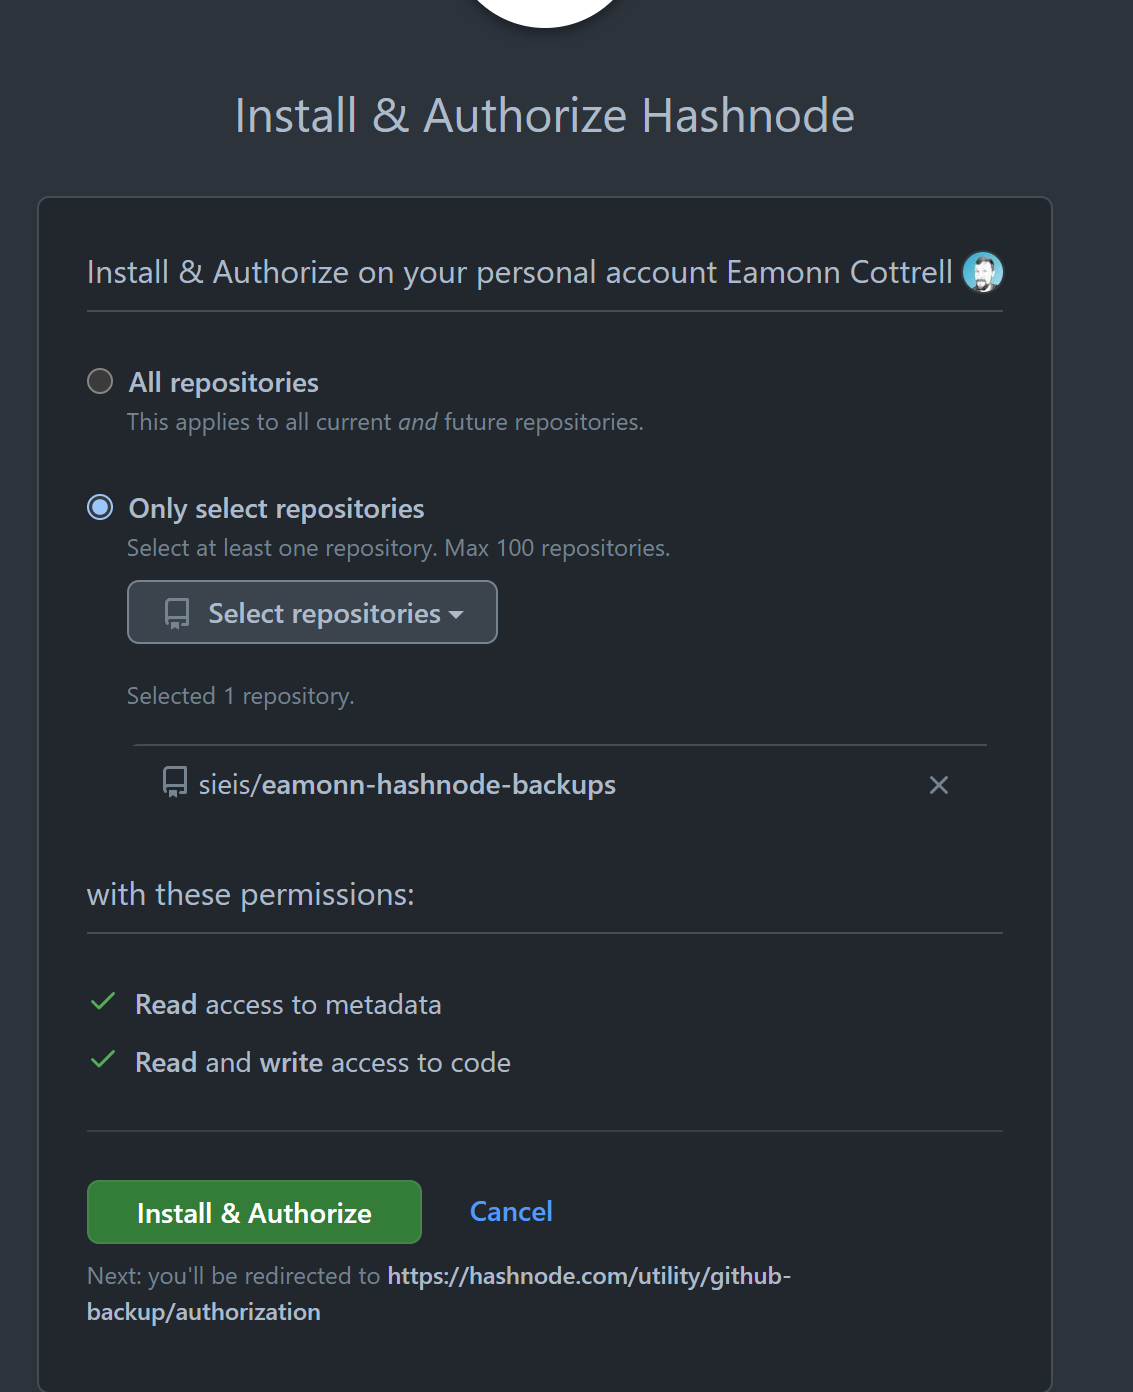
4. Install & Authorize on ONE REPOSITORY
It will default to all repositories. Don't install on all your repositories. Just select the one you created for your blog posts.
5. Re-Save Previous Articles
You will be redirected back to your Hashnode Blog Dashboard after the app is installed on your repository.
However, any previously published articles do not appear to be pushed to the backup repository. Only those going forward...
So, if you want those previously published ones to be backed up too, you'll need to edit them and re-save. You don't even have to make a change. Simply clicking Edit and then Save Post will trigger it to update in GitHub.
Edit Previous Post:

Save Post:

GitHub Updated:
5. Please Share!
I hope you found this insightful and useful. I'm in the process of growing my portfolio of technical content, and I'd really appreciate it if you shared this article on social media. You can find me most easily on Twitter, and I'd love to say hey!